How to Cook Homemade Chili on the Stove

Chili, at its heart, is a deeply savory and comforting stew. The magic lies in the slow development of flavors, where the richness of browned beef melds with the earthy sweetness of tomatoes and beans, all punctuated by a carefully balanced blend of spices. Cooking chili on the stove is a classic method that offers unparalleled control over the process, allowing you to coax the most flavor out of each ingredient.
This method allows for consistent monitoring and adjustment, unlike slow cookers that can sometimes mute individual flavors. The stovetop's direct heat allows you to build depth through techniques like browning the beef and caramelizing the tomato paste, crucial steps that contribute to chili's signature complexity.
Understanding Ground Beef
The type of ground beef you choose will significantly impact your chili's flavor and texture. Look for ground beef with a fat content of 80/20 (80% lean, 20% fat). This ratio provides enough fat for flavor and richness without making the chili greasy. Chuck is the best grind for flavor. Avoid using pre-packaged "chili grind" as it is often tough cuts. If you prefer a leaner chili, you can use 90/10 ground beef, but be prepared to add a tablespoon or two of olive oil to compensate for the lack of fat during browning. For alternative options, consider ground turkey or chicken, adjusting the cooking time as needed. Vegetarians can substitute with crumbled tofu or a blend of lentils and diced vegetables.
Why Cook Chili This Way?
- Flavor: Stovetop cooking allows for precise browning and caramelization, essential for building complex flavors.
- Versatility: Easily adaptable to your taste preferences, whether you like it mild, spicy, or loaded with toppings.
- Convenience: No specialized equipment is required, just a good pot and a little patience.
Preparation (Mise en Place)
Before you begin cooking, it's crucial to have all your ingredients prepped and ready to go.
- Thawing: If using frozen ground beef, thaw it completely in the refrigerator overnight. Never thaw meat at room temperature for food safety reasons.
- Chopping: Dice one large onion and mince 3-4 cloves of garlic. Freshly minced garlic is preferred for its robust flavor.
- Measuring: Measure out all your spices – chili powder, cumin, oregano, salt, and pepper – into a small bowl. This ensures you can add them quickly and evenly during cooking.
- Beans: Drain and rinse one can (15 ounces) of kidney beans. Rinsing removes excess starch and sodium.
Essential Tools
- Heavy-Bottomed Pot or Dutch Oven: Crucial for even heat distribution and preventing scorching. A Dutch oven is ideal but a heavy-bottomed stockpot will also work well.
- Wooden Spoon or Spatula: For stirring and scraping the bottom of the pot to prevent sticking.
- Measuring Spoons and Cups: For accurate ingredient measurements.
- Cutting Board and Chef's Knife: For chopping vegetables.

The Cooking Method(s)
Here, we'll delve into the stovetop method for creating a hearty and flavorful chili.
Method 1: Classic Stovetop Chili
Ingredients:
- 1.5 lb (680g) Ground Beef (80/20)
- 1 tbsp (15ml) Olive Oil
- 1 Large Onion, diced
- 4 cloves Garlic, minced
- 2 tbsp (30ml) Tomato Paste
- 1 can (15 oz/425g) Kidney Beans, drained and rinsed
- 1 can (28 oz/794g) Crushed Tomatoes
- 1 cup (240ml) Beef Broth (or vegetable broth)
- 1 tbsp (15ml) Chili Powder
- 2 tsp (10ml) Cumin
- 1 tsp (5ml) Dried Oregano
- 1-2 tsp (5-10ml) Salt, to taste
- 0.5 tsp (2.5ml) Black Pepper
- Optional: Chopped fresh cilantro or parsley, for garnish
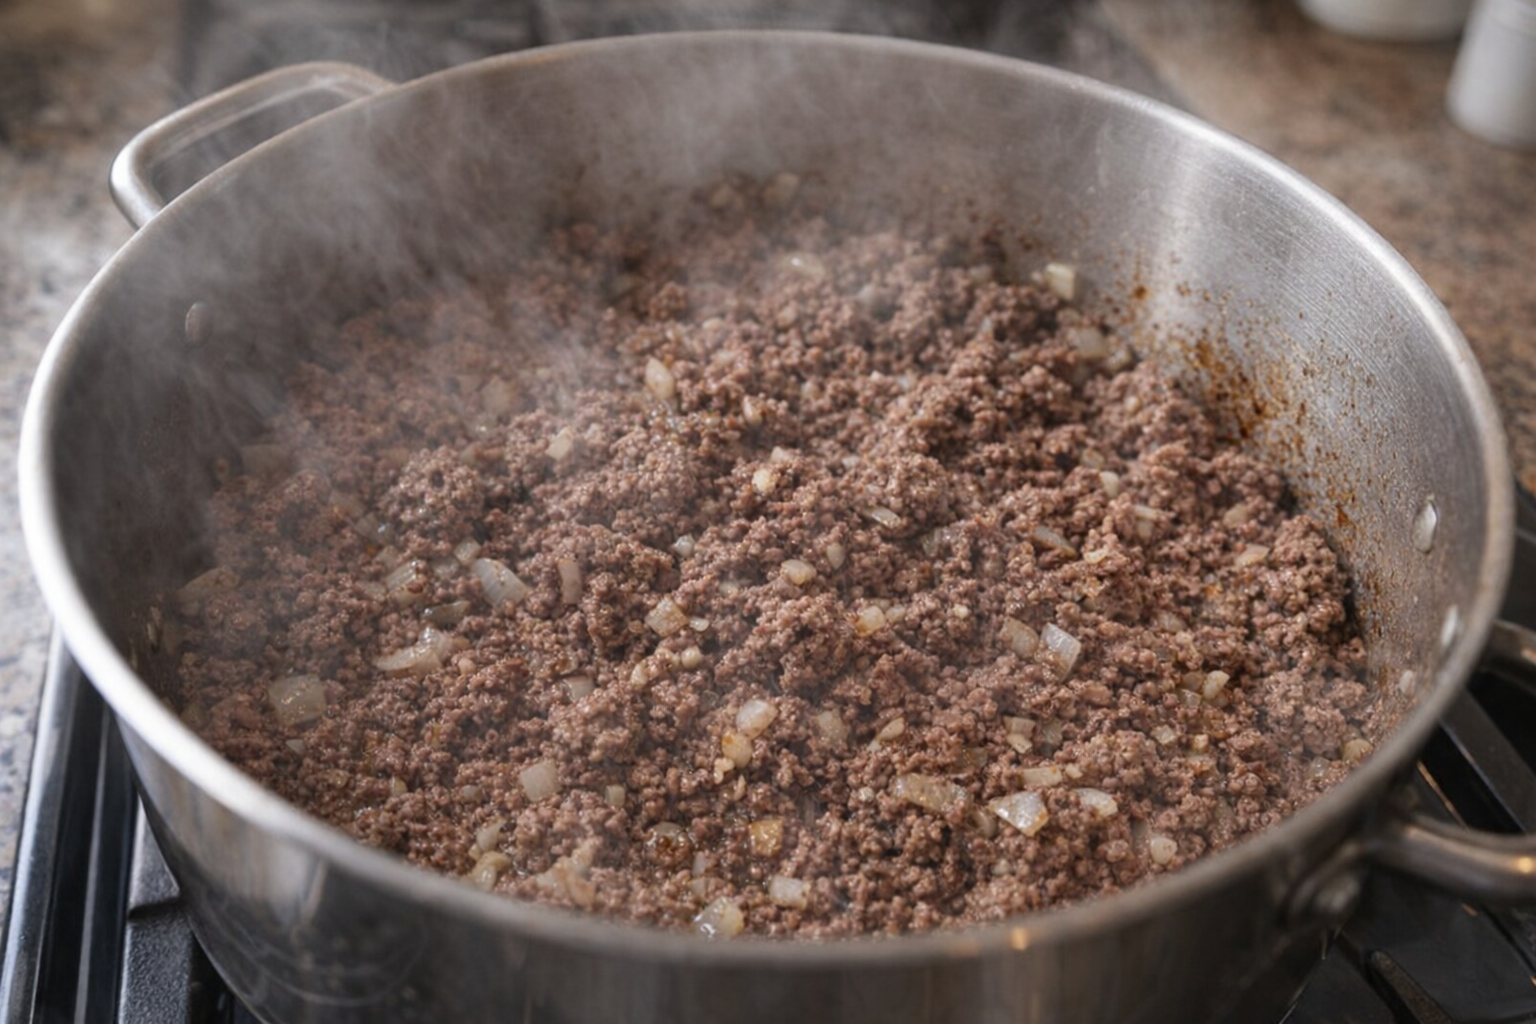
- Brown the Beef: In a large pot or Dutch oven, heat the olive oil over medium-high heat. Add the ground beef and cook, breaking it up with a spoon, until browned on all sides. The sizzling sound and rich aroma are indicators that the browning process is underway. Drain off any excess grease.
- Sauté Aromatics: Add the diced onion to the pot and cook until softened and translucent, about 5-7 minutes. The onions should become fragrant and slightly sweet. Add the minced garlic and cook for another minute, until fragrant, being careful not to burn it.
- Build Flavor: Stir in the tomato paste and cook for 2-3 minutes, stirring constantly. This step is crucial for caramelizing the tomato paste and deepening its flavor. You'll notice the color deepen and the aroma intensify.
- Combine Ingredients: Add the drained kidney beans, crushed tomatoes, beef broth, chili powder, cumin, oregano, salt, and pepper to the pot. Stir well to combine all the ingredients.
- Simmer: Bring the chili to a simmer, then reduce the heat to low, cover, and cook for at least 1 hour, or up to 2-3 hours, stirring occasionally. The longer it simmers, the more the flavors will meld together. During simmering, the chili should thicken slightly, and the aroma will become even more intense.
- Taste and Adjust: Taste the chili and adjust the seasonings as needed. Add more salt, pepper, or chili powder to your liking. If the chili is too thick, add a little more broth.
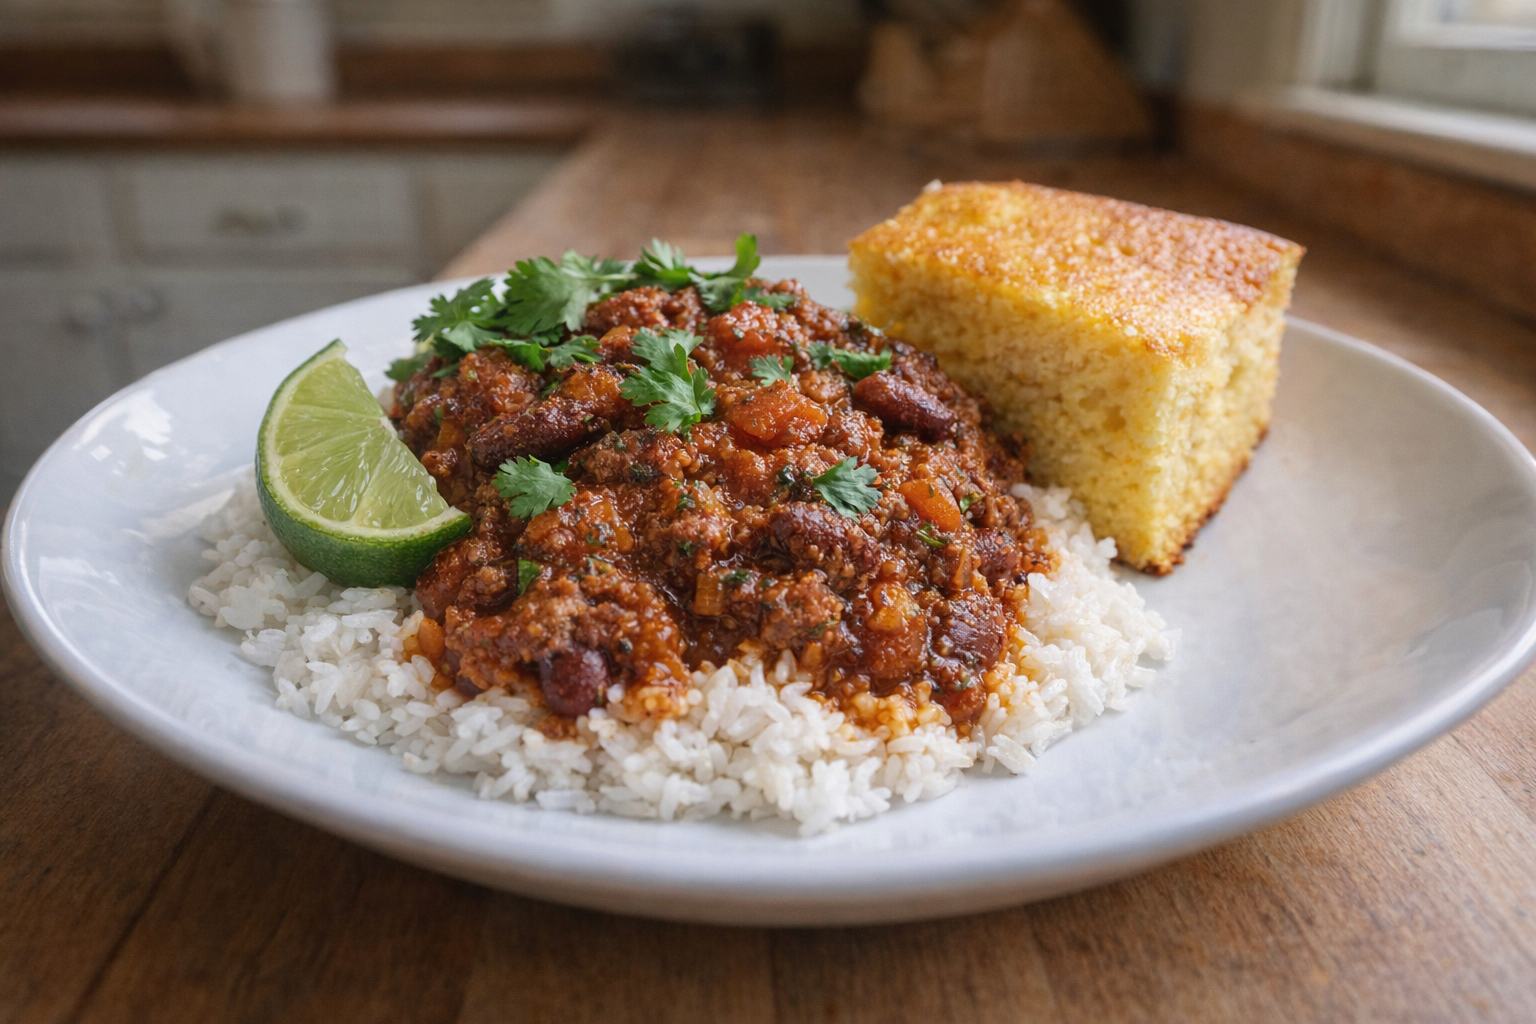
- Serve: Ladle the chili into bowls and garnish with chopped fresh cilantro or parsley, if desired.
Cooking Time & Doneness Guide
- Total Cooking Time: Minimum 1 hour, optimal 2-3 hours.
- Internal Temperature: Chili doesn't require a specific internal temperature, but the beef should be fully cooked to 160°F (71°C) during the browning stage.
Visual Cues
The chili is done when the flavors have melded together, the sauce has thickened, and the beef is tender. The longer it simmers, the more the flavors will develop. The chili should have a rich, deep red color.
Tips for Perfection
- Don't Overcrowd the Pot: Brown the beef in batches if necessary to ensure even browning. Overcrowding can cause the beef to steam instead of brown.
- Stir Frequently: Especially during the simmering stage, to prevent the chili from sticking to the bottom of the pot.
- Adjust the Spice Level: Start with a smaller amount of chili powder and add more to taste. You can always add more, but you can't take it away.
- Simmer Low and Slow: This allows the flavors to meld together and the chili to thicken properly. Rushing the process will result in a less flavorful chili.
Storage & Reheating
- Storage: Allow the chili to cool completely before storing it in an airtight container in the refrigerator for up to 3-4 days. For longer storage, freeze the chili in freezer-safe containers for up to 2-3 months.
- Reheating: Reheat the chili on the stovetop over medium heat, stirring occasionally, until heated through. You can also reheat it in the microwave, covered, in 1-2 minute intervals, stirring in between. Add a splash of broth or water if the chili is too thick.
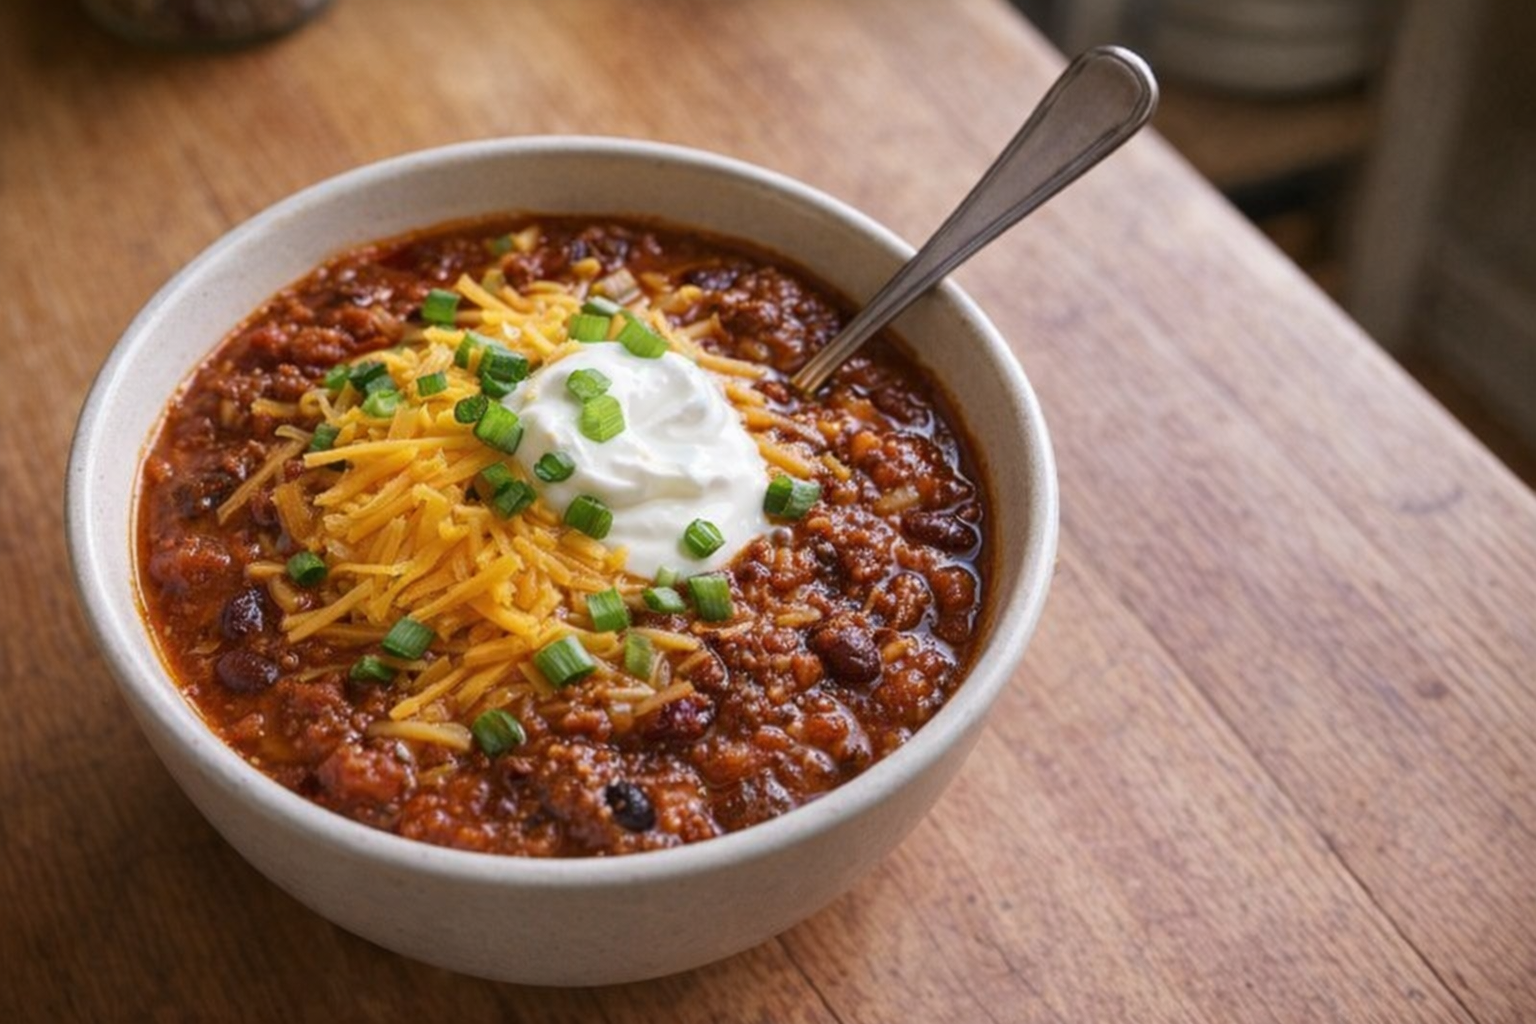
Serving Suggestions
- Classic Chili Bowl: Serve in a bowl topped with shredded cheddar cheese, sour cream, and chopped green onions.
- Chili Cheese Fries: Spoon chili over a bed of crispy fries and top with melted cheese.
- Chili Dogs: Top hot dogs with chili, cheese, and onions for a hearty and satisfying meal.
- Chili Mac: Combine chili with cooked macaroni and cheese for a comforting twist.
💡 Pro Tips
- Brown the ground beef thoroughly in a hot pot until it is deep brown to create a flavorful base for the stew.
- Sauté the tomato paste for two to three minutes until it turns a dark brick red to remove its raw metallic taste and add depth.
- Bloom your spices by stirring them into the meat and vegetable mixture for a minute before adding liquids to release their essential oils.
- Keep the chili at a gentle simmer rather than a rolling boil to prevent the meat from becoming tough and to allow the flavors to meld properly.
- Use a wooden spoon to scrape up any browned bits from the bottom of the pot after adding the liquid to incorporate all the concentrated flavor into the sauce.
Frequently Asked Questions
Yes, you can! Soak 1 cup of dried kidney beans overnight, then cook them until tender before adding them to the chili. This will add a deeper, earthier flavor but will significantly increase the overall cooking time.
If your chili is too spicy, add a tablespoon of sugar or a splash of vinegar to balance the heat. You can also incorporate dairy, like a dollop of sour cream or a splash of milk, which helps to neutralize the capsaicin in the chili peppers.
Properly stored, leftover chili will last for 3-4 days in the refrigerator. Make sure to cool the chili completely before transferring it to an airtight container to prevent bacterial growth.
Yes, chili freezes very well! Allow the chili to cool completely, then transfer it to freezer-safe containers or bags. It can be frozen for up to 2-3 months; thaw it overnight in the refrigerator before reheating.